• Skip to primary navigation
  • Skip to content
  • Skip to primary sidebar

Main navigation

  • Home
  • About
  • Recipes
  • Portfolio
  • Contact
  • Bloglovin
  • Facebook
  • Instagram
  • Pinterest
  • RSS

May 12, 2014

Chocolate Milkshake {with raw cacao}

Chocolate Milkshake {with raw cacao}

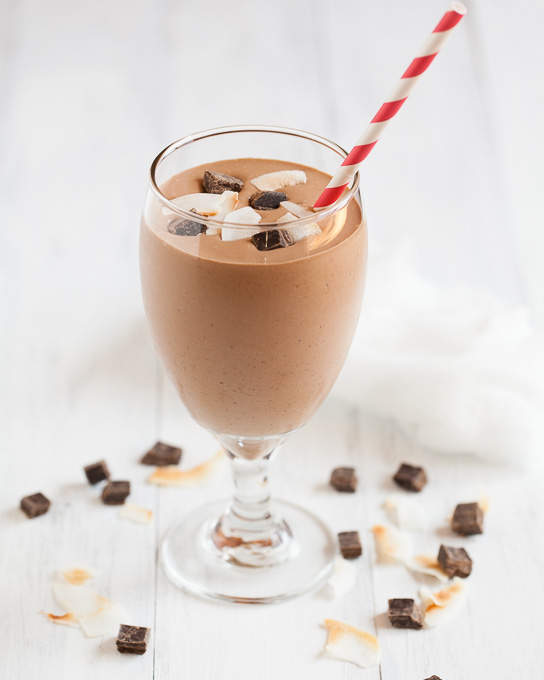
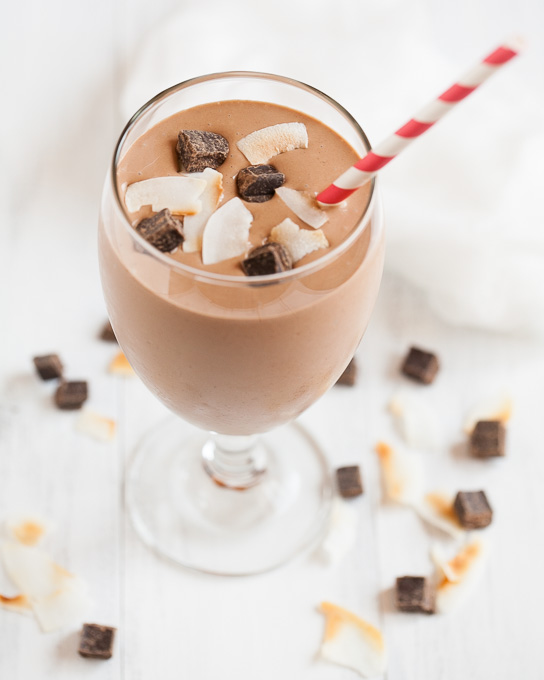
For some time now, our family has been enjoying these Healthy Chocolate Milkshakes from A Couple Cooks.  Everyone I’ve made these for  is surprised when they find out these milkshakes are dairy-free and refined sugar-free.  They are so creamy, chocolate-y, and delicious.  I recently tried making these milkshakes with raw cacao powder instead of cocoa powder and it has the same delicious taste with an added boost of nutrients.  Raw cacao powder has transformed our dessert life.  Because cacao powder is cold-pressed and kept at low temperatures, it is extremely high in antioxidants and has a variety of health benefits.  Although cocoa powder is derived from the same cacao nibs as cacao powder, many of the antioxidants are destroyed during the production process when the cocoa is roasted at high heat.  I do not claim to be any type of nutritional expert, but I have also read that dairy interferes with the absorption of nutrients from cacao.  The coconut milk in these milkshakes allows for the full health benefits of the cacao powder.  Besides being healthy though, these chocolate milkshakes just taste so so good.  We love them and I hope you do too!
Chocolate Milkshake {with raw cacao}

Print
Chocolate Milkshake {with raw cacao}
Serves: 2
 
Ingredients
  • 1 can light coconut milk (not boxed coconut milk)
  • 2 tablespoons raw cacao powder
  • 5-7 medjool dates, pitted
  • ½ teaspoon vanilla
  • toasted coconut and dark chocolate chunks, for garnish
Instructions
  1. Shake the can of coconut milk well before opening it. Reserve half a cup of coconut milk in a separate glass and refrigerate. Pour the remaining coconut milk into an ice cube tray and freeze.
  2. Using a high-speed blender, blend together the frozen coconut milk cubes, cacao powder, medjool dates, vanilla, and reserved coconut milk until creamy and smooth.
  3. Garnish with toasted coconut and chocolate chunks and serve immediately.
Notes
slightly adapted from A Couple Cooks via Edible Perspective
3.2.2499
Continue Reading

April 21, 2014

Chocolate Chip Oat Crispie Bars

Chocolate Oat Chip Crispie Bars

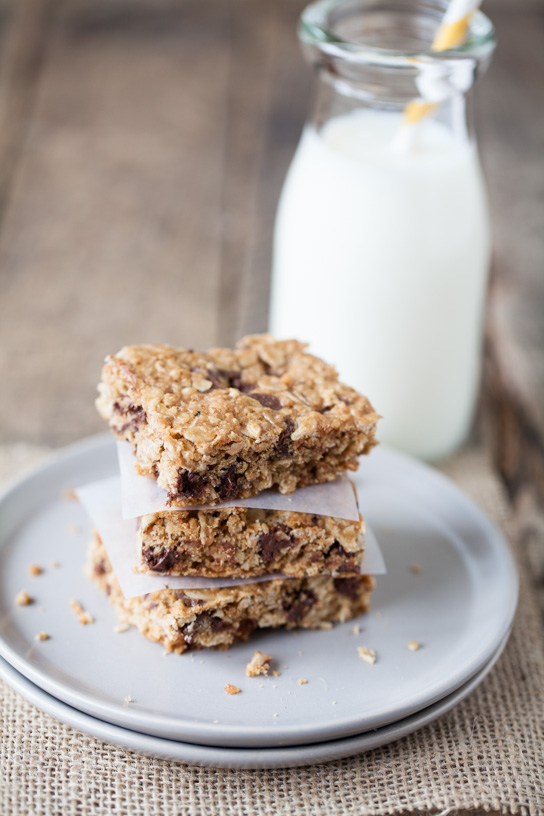
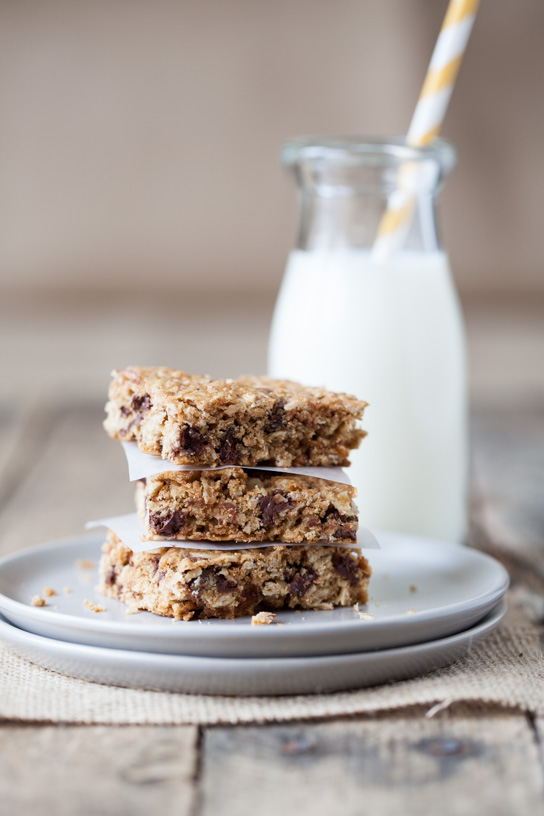
Spring soccer season has finally begun around here.  I made a double batch of these Chocolate Chip Oat Crispie Bars for the boys to enjoy after their game.  They played their hearts out and lost their game, but I like to think that these treats helped to cheer them up a little.  They are loaded with whole grains and sweetened with coconut sugar and honey.  I think substituting raisins for the chocolate chips would also be a tasty alternative.

Chocolate Oat Chip Crispie Bars

Print
Chocolate Chip Oat Crispie Bars
Serves: makes 20-24 bars
 
Ingredients
  • 1 cup all-purpose flour
  • 1 teaspoon cinnamon
  • ½ teaspoon baking powder
  • ½ teaspoon sea salt
  • ½ cup butter, softened
  • ½ cup coconut sugar
  • ¼ cup honey
  • 1 teaspoon vanilla
  • 1 egg
  • 1½ cups old-fashioned oats
  • 1¼ cups brown rice crisps cereal
  • ¾ cups chocolate chips
Instructions
  1. Preheat oven to 350. Lightly grease a 9x13 baking pan or line with parchment paper.
  2. In a medium bowl, mix together the flour, cinnamon, baking powder, and salt.
  3. With a stand mixer, cream together the butter and coconut sugar. Add the honey, egg, and vanilla and mix well.
  4. Add the flour mixture and mix on medium-low speed until just combined. Mix in the oats, and then the brown rice crisps. Do not overmix. Add the chocolate chips last.
  5. Press mixture into the greased baking pan. Bake for 25-30 minutes until top is golden brown. Allow to cool completely before cutting into squares.
3.2.2310


Continue Reading

April 11, 2014

Chilled Chocolate Hazelnut Espresso Torte

Chilled Chocolate Hazelnut Torte

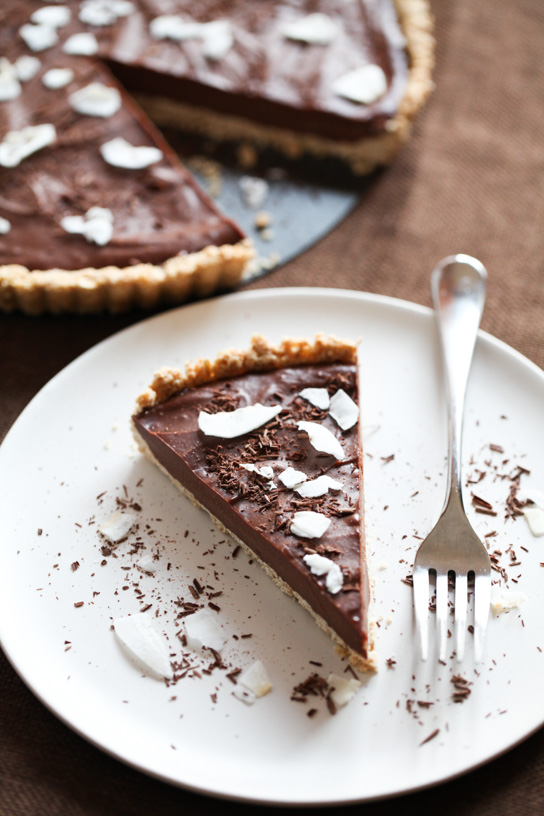
I am in LOVE with this dessert.  It is creamy and rich, with a perfect balance of super smooth chocolate with subtle coconut and espresso flavors. It tastes totally indulgent, and yet it is full of good-for-you ingredients.  Cacao powder.  Oats.  Hazelnuts. Cashews.  Coconut oil.  And of course, one can never go wrong with combining chocolate and hazelnuts.

I used a 10 1/2 x 1 inch tart pan with a removable bottom, but the original recipe calls for a 9 inch pie dish.  I thought being able to remove the sides was helpful in being able to slice the frozen torte.  Also, I used a Vitamix to blend the filling and I think that helped to achieve the ultra smooth consistency of the filling.  If using another blender, make sure to blend long enough to ensure the filling is smooth.  I love that this can be served chilled from the freezer.  It’s such a great dessert for having company over since it can be made ahead of time.  I know we will be making this dessert over and over again!


Print
Chilled Chocolate Hazelnut Espresso Torte
Serves: 8-14
 
Ingredients
  • For the crust:
  • ¾ cup hazelnuts
  • ¼ cup unrefined coconut oil
  • 3 tablespoons maple syrup
  • ¼ teaspoon sea salt
  • 1½ cups rolled oats

  • For the filling:
  • 1½ cups unsalted cashews, soaked at least 4 hours, drained and rinsed
  • ½ cup + 2 tablespoons maple syrup
  • 5 tablespoons unrefined coconut oil
  • ⅓ cup raw cacao powder
  • ⅓ cup dark chocolate chips, melted
  • 2 teaspoons vanilla
  • ½ teaspoon sea salt
  • 1 teaspoon espresso powder
  • shaved dark chocolate and unsweetened coconut flakes, for garnish
Instructions
For the crust:
  1. To remove the bitter skins off the hazelnuts, roast the hazelnuts in a single layer for 10-12 minutes in a 350 oven. Transfer the hazelnuts to a kitchen towel, and use the towel to rub the skins loose.
  2. In a food processor, process ½ cups of the oats until it becomes a coarse flour. Remove oat flour and set aside. Next process the hazelnuts until finely ground, being careful not to over process into nut butter. Add the oat flour, the remaining oats, the coconut oil, maple syrup, and sea salt. Pulse until mixture forms a loose dough and sticks together when pressed.
  3. Transfer dough into a lightly greased tart pan or pie dish. Using slightly wet fingers, press the dough tightly and evenly around bottom and sides of the pan. Use a fork to poke holes in the crust to prevent air pockets.
  4. Bake the crust for 10-12 minutes, until it starts to turn golden. Allow crust to cool before filling.
For the filling:
  1. Add all of the filling ingredients to a blender. Blend on high speed until completely smooth.
  2. Pour filling into cooled crust and use an offset spatula to smooth the top.
  3. Freeze the torte, uncovered for a couple of hours, then cover with foil and freeze for another 4-6 hours, or overnight.
  4. To serve, garnish with shaved dark chocolate and/or coconut flakes. Serve straight from the freezer, but allow 5-10 minutes for torte to thaw before slicing.
Notes
slightly adapted from My New Roots, originally from the Oh She Glows Cookbook
3.2.2499


Continue Reading
  • « Previous Page
  • Page 1
  • …
  • Page 6
  • Page 7
  • Page 8

Primary Sidebar

wholesome recipes

made for sharing

browse

posts

Categories

Archives

Your

favorites

Roasted Harvest Salad + Champagne Vinaigrette
Sausage and Kale Spaghetti Pie
Griddled Pumpkin Steel-Cut Oatcakes
Chocolate Fig Swirl Rolls

Subscribe

by email

This error message is only visible to WordPress admins

Error: No feed found.

Please go to the Instagram Feed settings page to create a feed.

Follow

on instagram

© GATHER AND DINE 2026. SITE DESIGN BY WOODEN SPOONS KITCHEN