• Skip to primary navigation
  • Skip to content
  • Skip to primary sidebar

Main navigation

  • Home
  • About
  • Recipes
  • Portfolio
  • Contact
  • Bloglovin
  • Facebook
  • Instagram
  • Pinterest
  • RSS

April 14, 2014

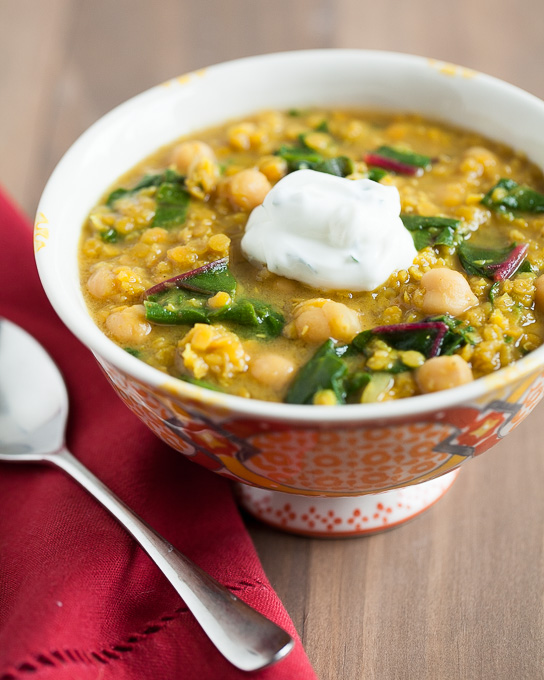
Curried Red Lentils with Garbanzo Beans and Swiss Chard

Curried Red Lentils with Swiss Chard

Lentils seem to be my fallback for quick meatless meals these days.  These curried red lentils are one of those one pot dishes that make a great weeknight meal.  When cooked long enough, the red lentils turn creamy while the garbanzo beans help add texture to the stew.  The cucumber raita complements the curry perfectly and helps to brighten up the flavors.  I like to serve this stew over a bed of brown rice to make it extra hearty and filling.

Print
Curried Red Lentils with Garbanzo Beans and Swiss Chard
Serves: 6-8
 
Ingredients
  • For the Red Lentil Stew:
  • 1 tablespoon olive oil
  • 1 large onion, thinly sliced
  • 2 tablespoons curry powder
  • ⅛ teaspoon cayenne pepper
  • ½ teaspoon salt plus additional salt to taste
  • 4 cups of chicken or vegetable broth plus 2 cups water
  • 1 large bunch swiss chard, stalks removed, coarsely chopped
  • 1 pound red lentils, rinsed and drained
  • ⅔ cup dried garbanzo beans, cooked and drained, or 1 15 oz can garbanzo beans, rinsed and drained

  • For the Cucumber Raita:
  • 2 cups plain yogurt
  • ½ cup grated cucumber
  • 3 tablespoons coarsely chopped cilantro
  • ⅛ teaspoon cumin
  • salt to taste
Instructions
For the Red Lentil Stew:
  1. Using a large pot, heat the oil over medium high heat and saute the onions until they start to turn golden, about 10 minutes. Add the curry powder, cayenne pepper, and salt and stir for another minute. Add the red lentils, give a quick stir, and then add the broth.
  2. Bring red lentil mixture to a boil and then lower heat and simmer for 15 minutes, stirring occasionally.
  3. Add the swiss chard and garbanzo beans and simmer for another 10-15 minutes, or until lentils reach desired consistency.
  4. Serve with brown rice and cucumber raita.
For the Cucmber Raita:
  1. In a small bowl, mix all ingredients together gently with a wooden spoon or spatula.
Notes
adapted from Bon Appetit
3.2.2310


Continue Reading

April 11, 2014

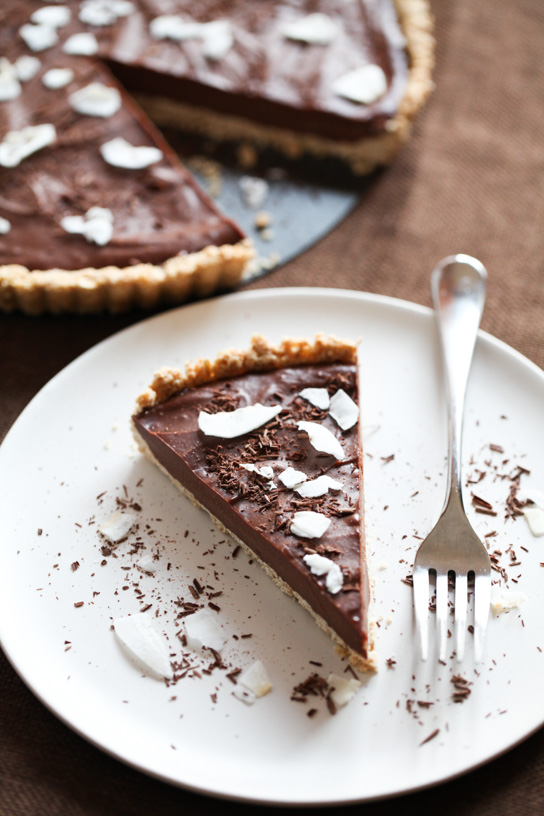
Chilled Chocolate Hazelnut Espresso Torte

Chilled Chocolate Hazelnut Torte

I am in LOVE with this dessert.  It is creamy and rich, with a perfect balance of super smooth chocolate with subtle coconut and espresso flavors. It tastes totally indulgent, and yet it is full of good-for-you ingredients.  Cacao powder.  Oats.  Hazelnuts. Cashews.  Coconut oil.  And of course, one can never go wrong with combining chocolate and hazelnuts.

I used a 10 1/2 x 1 inch tart pan with a removable bottom, but the original recipe calls for a 9 inch pie dish.  I thought being able to remove the sides was helpful in being able to slice the frozen torte.  Also, I used a Vitamix to blend the filling and I think that helped to achieve the ultra smooth consistency of the filling.  If using another blender, make sure to blend long enough to ensure the filling is smooth.  I love that this can be served chilled from the freezer.  It’s such a great dessert for having company over since it can be made ahead of time.  I know we will be making this dessert over and over again!


Print
Chilled Chocolate Hazelnut Espresso Torte
Serves: 8-14
 
Ingredients
  • For the crust:
  • ¾ cup hazelnuts
  • ¼ cup unrefined coconut oil
  • 3 tablespoons maple syrup
  • ¼ teaspoon sea salt
  • 1½ cups rolled oats

  • For the filling:
  • 1½ cups unsalted cashews, soaked at least 4 hours, drained and rinsed
  • ½ cup + 2 tablespoons maple syrup
  • 5 tablespoons unrefined coconut oil
  • ⅓ cup raw cacao powder
  • ⅓ cup dark chocolate chips, melted
  • 2 teaspoons vanilla
  • ½ teaspoon sea salt
  • 1 teaspoon espresso powder
  • shaved dark chocolate and unsweetened coconut flakes, for garnish
Instructions
For the crust:
  1. To remove the bitter skins off the hazelnuts, roast the hazelnuts in a single layer for 10-12 minutes in a 350 oven. Transfer the hazelnuts to a kitchen towel, and use the towel to rub the skins loose.
  2. In a food processor, process ½ cups of the oats until it becomes a coarse flour. Remove oat flour and set aside. Next process the hazelnuts until finely ground, being careful not to over process into nut butter. Add the oat flour, the remaining oats, the coconut oil, maple syrup, and sea salt. Pulse until mixture forms a loose dough and sticks together when pressed.
  3. Transfer dough into a lightly greased tart pan or pie dish. Using slightly wet fingers, press the dough tightly and evenly around bottom and sides of the pan. Use a fork to poke holes in the crust to prevent air pockets.
  4. Bake the crust for 10-12 minutes, until it starts to turn golden. Allow crust to cool before filling.
For the filling:
  1. Add all of the filling ingredients to a blender. Blend on high speed until completely smooth.
  2. Pour filling into cooled crust and use an offset spatula to smooth the top.
  3. Freeze the torte, uncovered for a couple of hours, then cover with foil and freeze for another 4-6 hours, or overnight.
  4. To serve, garnish with shaved dark chocolate and/or coconut flakes. Serve straight from the freezer, but allow 5-10 minutes for torte to thaw before slicing.
Notes
slightly adapted from My New Roots, originally from the Oh She Glows Cookbook
3.2.2499


Continue Reading

April 10, 2014

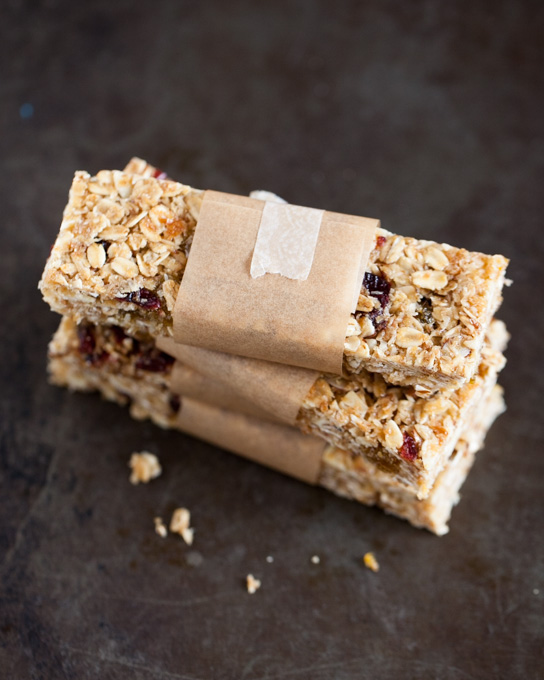
Granola Bars

granola bars

My husband plays in a weekly tennis league and each week the men take turns bringing snacks for their after-play hang out time.  This past week was my husband’s turn and I made these granola bars for him to bring along.  I thought they would be the perfect healthy snack for replenishing some of their energy!  I sent almost the entire batch (not the whole batch because of course we couldn’t resist eating some ourselves)  and he came back with none!

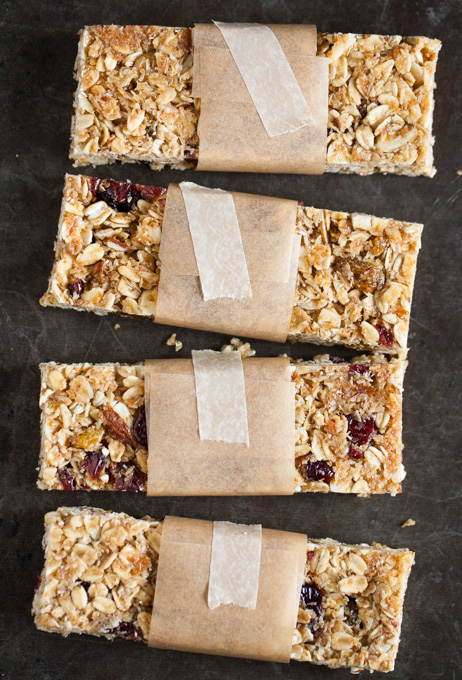
I’ve tried making several versions of homemade granola bars and these are my all-time favorite.  If stored at room temperature, they are chewy with just a bit of crunch.  If stored in the fridge, they become completely crunchy.  I like to use my 12 x 17 baking sheet to make these because I find this makes it easier to press down on the mixture at the end.  This makes quite a lot, so you can also halve the recipe and use an 8 x 12 baking dish instead as long as you be sure to press down evenly by the sides of the pan.  Pressing down the mixture is an important step for keeping the granola bars together when slicing them.

granola bars

Print
Granola Bars
Serves: makes 24-32 bars
 
Ingredients
  • 4 cups old fashioned rolled oats
  • 2 cups sliced almonds
  • 2 cups unsweetened shredded coconut
  • 1 cup toasted wheat germ
  • 6 tablespoons unsalted butter
  • 1 cup honey
  • 6 tablespoons light brown sugar, lightly packed
  • ½ teaspoon kosher salt
  • 1 tablespoon vanilla
  • 1 cup golden raisins
  • 1 cup dried cranberries
Instructions
  1. Preheat the oven to 350. Line a 12x17 inch pan with parchment paper.
  2. Mix together the oats, sliced almonds, coconut, wheat germ, raisins, and cranberries together in a large mixing bowl.
  3. Melt the butter, honey, sugar, and salt together over medium heat. Bring to a boil and let cook for about one minute. Turn the heat off and stir in the vanilla.
  4. Pour the wet mixture over the dry mixture and stir together until fully incorporated. Transfer mixture to the baking pan and press mixture down tightly with the back of a rubber spatula.
  5. Bake for 25-30 minutes, until granola is golden. Cool for about 2 hours and slice into bars.
Notes
adapted from Barefoot Contessa Back to Basics
3.2.2310


Continue Reading
  • « Previous Page
  • Page 1
  • …
  • Page 66
  • Page 67
  • Page 68
  • Page 69
  • Next Page »

Primary Sidebar

wholesome recipes

made for sharing

browse

posts

Categories

Archives

Your

favorites

Roasted Harvest Salad + Champagne Vinaigrette
Sausage and Kale Spaghetti Pie
Griddled Pumpkin Steel-Cut Oatcakes
Chocolate Fig Swirl Rolls

Subscribe

by email

Load More...
Follow on Instagram

Follow

on instagram

© GATHER AND DINE 2025. SITE DESIGN BY WOODEN SPOONS KITCHEN